Article updated: January 18, 2026
So you decided to part ways with your trusty electric razor and undertake the lost art of wet shaving. I don’t blame you. When it comes to achieving the closest, smoothest shave possible, electric razors simply don’t have the balls to hang with a good safety razor and shave kit.
While I did use the term, lost art of wet shaving, that sentiment isn’t entirely true. Like vinyl records, wet shaving is back on the rise. I attribute this surge in popularity to an increase in male specific grooming brands that are introducing new and innovative razors and wet shaving accessories to the marketplace.
From Kickstarter projects to Shark Tank appearances, safety razors are popping up everywhere. It’s no surprise that more and more gentlemen are ditching their clunky electric razors and dipping their toes into the new/old world of wet shaving.
It’s like how the old saying goes, “if you build it, they will come.” I’m paraphrasing here.
Page Contents
Getting Started with Wet Shaving
While getting started with wet shaving can seem like a daunting, and maybe even intimidating task, it really doesn’t have to be that way. This wet shaving guide for beginners is designed to get you started with wet shaving in the simplest and most pain-free way possible. And yes, I mean that literally and figuratively.
Below I cover all the basics. From tools needed, to basic tips and tricks; it’s all here. I even offer a few tool and accessory recommendations to get you headed in the right direction.
So sit back, relax, and briefly contemplate what you’re going to do with that old electric razor (I suggest re-purposing it into a door stop), and then enjoy the read.
Choosing a Razor
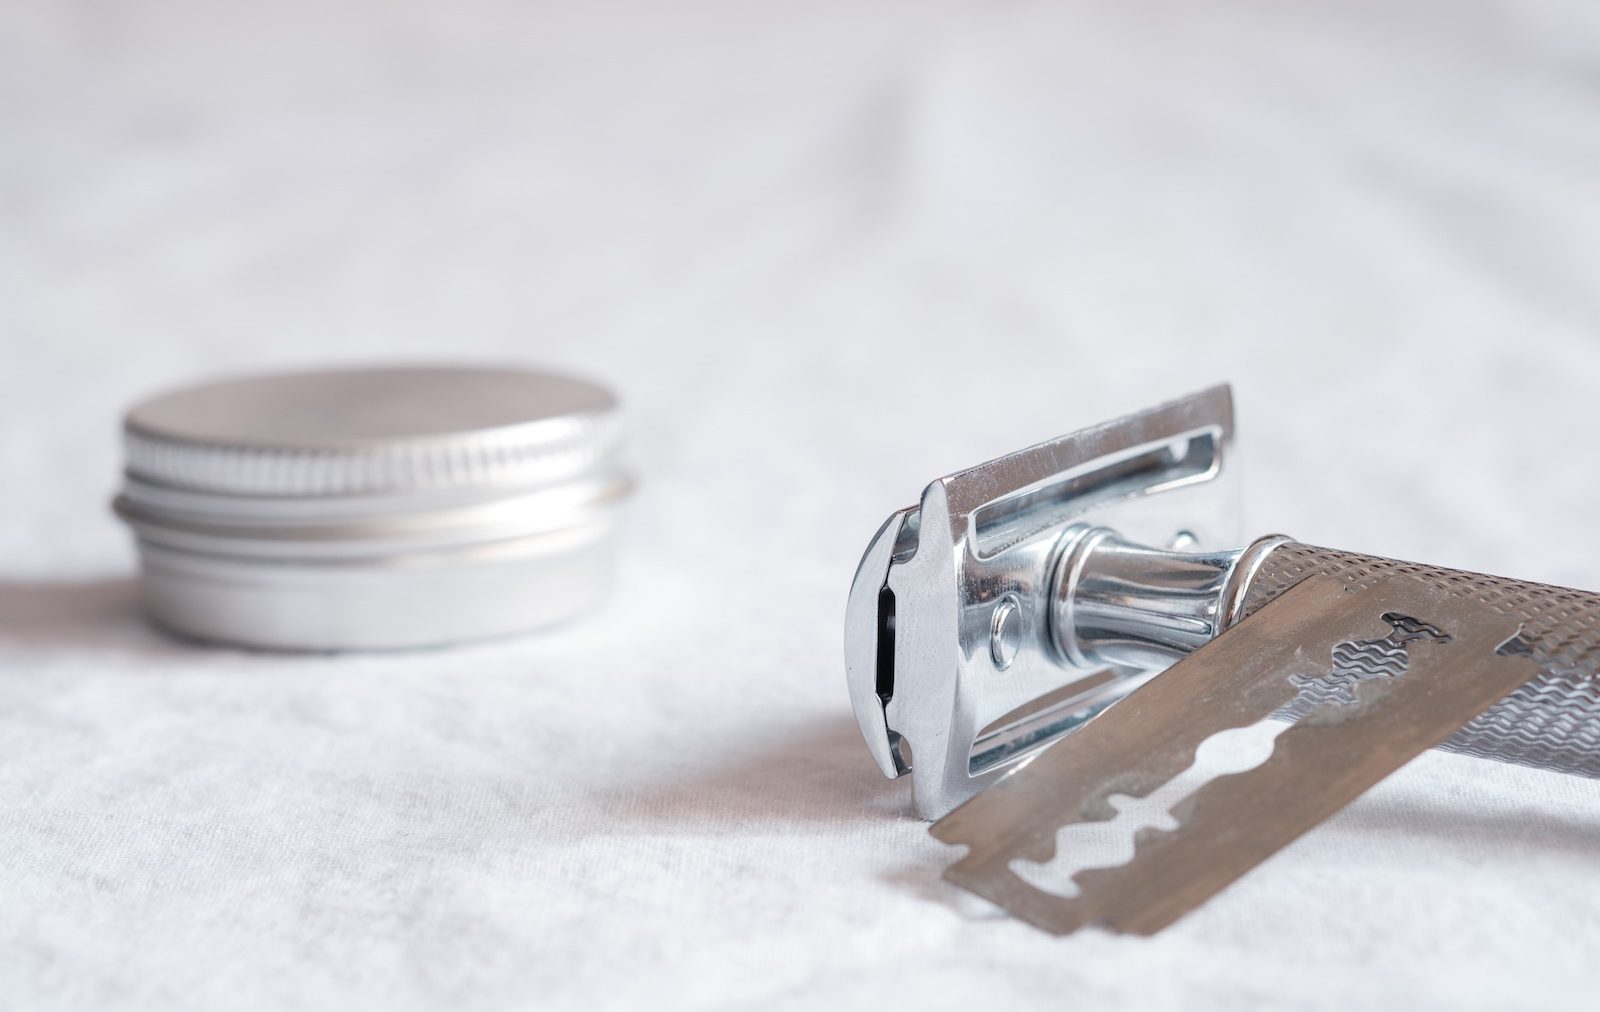
With so many different types of razors to choose from, this can be one of the hardest decisions you’ll make when you begin your journey with wet shaving. I can’t exactly tell you what type of razor you should use, since this ultimately comes down to personal preference and figuring out what works best for you. Here is a quick rundown of the most common types of razors available:
Single edge safety razor
Double edge safety razor
Injector razor
Straight razor
Cartridge razor
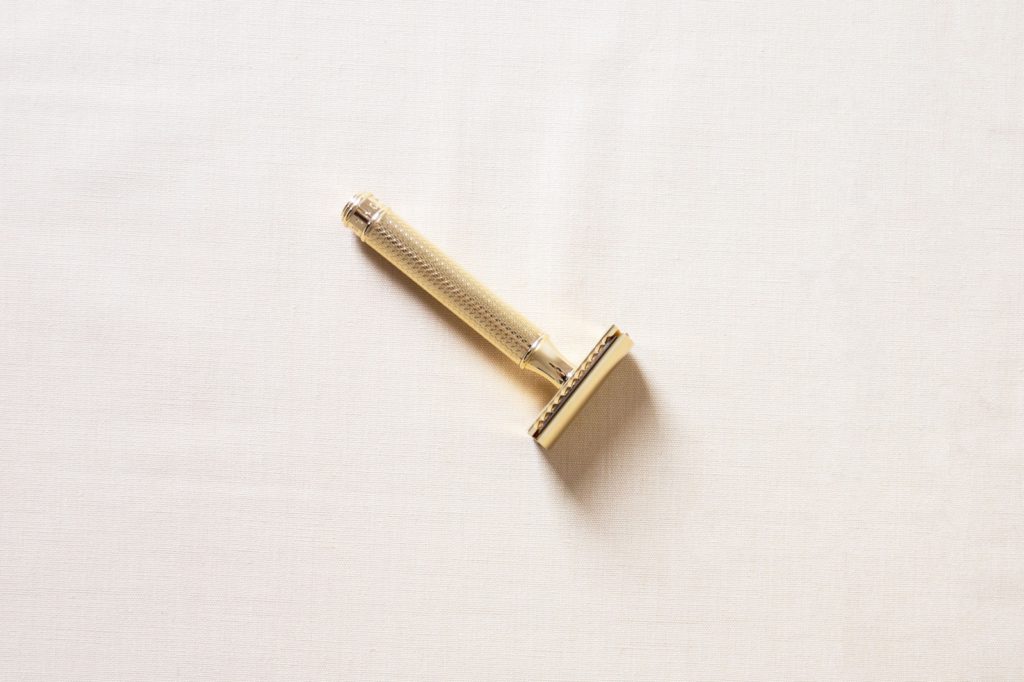
Some of the most popular razors for beginners are Vikings Blade, Edwin Jagger, Shaving Revolution, and if you’re looking to get started with a straight razor – the Feather SS.
Choosing a Blade
Again, this is another decision that comes down to personal preference. If you were to ask 5 different guys what the best blade is, you’ll probably get 5 different answers. My advice is to simply try a blade, and if it feels good, stick with it. If not, give another blade a try.
In the beginning while you’re still honing your skills, it’s important to find a setup that feels good to you and stick with it. There will be plenty of time to branch out and experiment with other blades once your skills have improved.
If you find yourself struggling on which blade to get, you can always try a sample pack of blades to help you find one that you like. Otherwise, blades such as Feather, Vikings Blade, Gillette, and Astra are good (and reasonably priced) places to start.
Shaving Soap/Cream
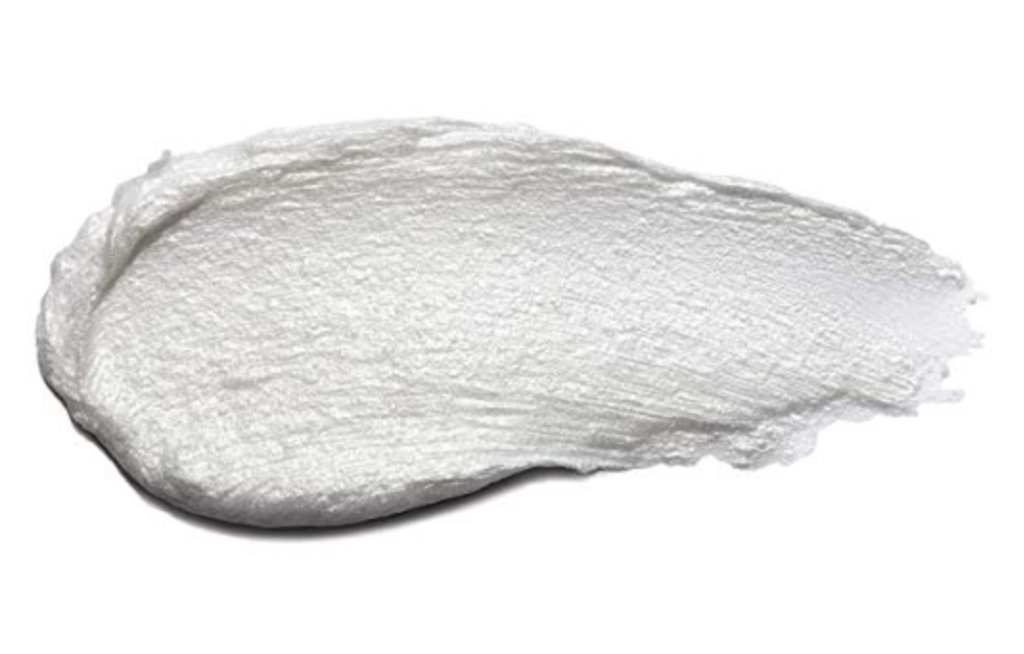
Decisions, decisions. I know it seems like a lot to consider, but building the perfect kit is one of the satisfying pleasures of wet shaving. Another important decision you have to make is deciding whether to use a shaving cream or shaving soap. While there are subtleties between the two, the biggest difference is that shaving soap tends to offer a more lubricating lather, while shaving cream is easier to work into a thick lather.
In the end they both effectively serve the same purpose: preventing cuts, irritation, and razor burn.
But again, this decision comes down to personal preference (noticing a trend here?). My best advice is to go with one that simply sounds the best to you. While there is no single “best” shaving soap or cream, offerings from Proraso, Lather & Wood, Cremo, and Jack Black will get you headed in the right direction.
Choosing a Brush
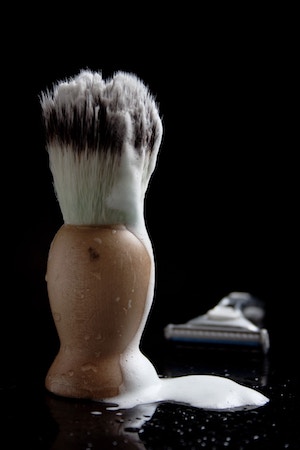
Once you’ve decided on a shaving soap/cream you’ll need a brush to build a lather and apply it to your face. As you can imagine there are many types of brushes available all in different sizes, shapes, and materials. While you may be asking yourself, what’s the best brush for wet shaving, there really is no specific answer to that question. The good news is, you really don’t have to spend a lot of money to get a high quality brush.
While prices can vary greatly, it usually comes down to the materials used to construct the brush that determines it’s cost. The most important factor when choosing a brush is determining what type of bristles you want. Some of the most common types of bristles include:
• Boar hair – The most common material used for brushes and typically the cheapest. Boar hair brushes produce a nice thick lather but tend to have the stiffest bristles and require the longest time to break in. Due to the cost, boar hair brushes are a great option for beginners. For an excellent boar bristle brush, I recommend checking out Proraso brushes.
• Badger hair – Typically the most expensive of all the brushes, badger hair is known for being soft on the skin and capable of producing a thick, rich lather. Vikings Blade produces some of the best badger hair brushes available.
• Horse hair – Horse hair brushes sort of fall between boars hair and badger hair in regards to softness. While some complain that horse hair bristles have a tendency to become tangled and are too floppy, others laud them for their effortless ability to apply lather to the face. If a horse hair brush interests you, the Vie-Long 4212 brush is a good option.
• Synthetic – While synthetic brushes historically have a bad rap, many now consider them a legitimate alternative to natural brushes. While bristle material can vary on synthetic brushes, nylon tends to be the most common. One of the biggest draws of synthetic brushes is their quick drying ability, making them a popular choice amongst travelers. Parker Safety Razor produces some of the finest synthetic bristle brushes available.
Pre-Shave Oil
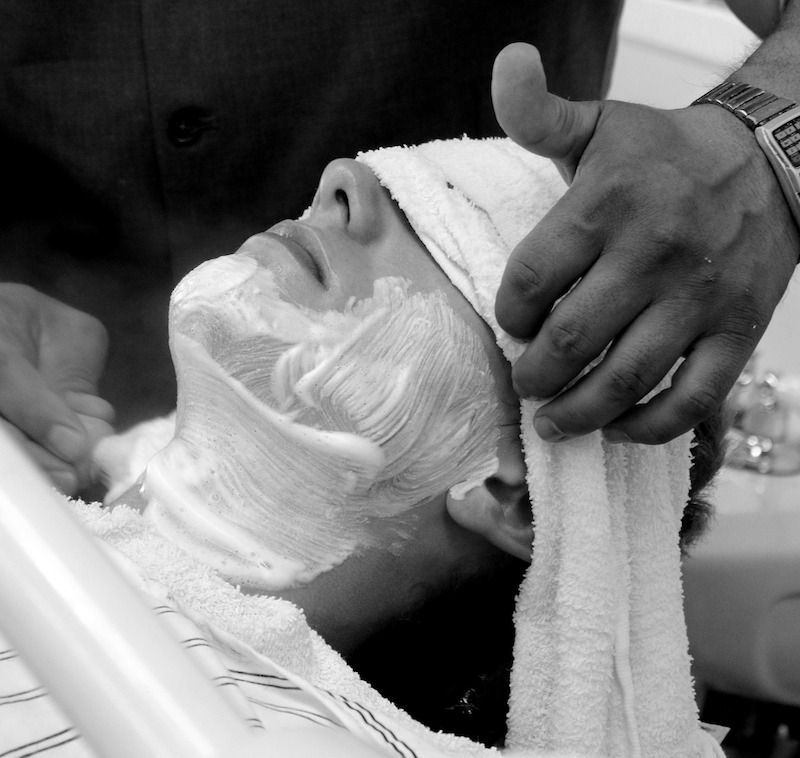
Now that you have your razor, shaving soap/cream, and brush of choice, it’s time to let that facial hair have it, right? Not quite. One of the most overlooked aspects of wet shaving is utilizing a good pre-shave oil to help soften facial hair and further protect the skin.
In it’s natural state, facial hair is very coarse, hard, and quite strong. The purpose of pre-shave oil is to soften the hair thus allowing the blade to effectively do it’s thing with minimal resistance. This results in a smoother and closer shave with less likelihood of cuts and irritation.
Simply massage pre-shave oil into your beard and allow roughly 30 seconds for penetration. You can use this time to work your soap/cream into a thick rich lather. Then go ahead and apply a thick layer of your soap/cream right on top of the pre-shave oil and proceed to shave as usual.
Some great pre-shave oil options are offered by: Proraso and Lather & Wood.

Lather
A good lather is crucial to a smooth, irritation free shave. Having a good lather allows the blade to slide on the surface of your skin acting as a shield against nicks, cuts, and razor burn.
Lathering with cream
The most common methods of building a lather with shave cream are called bowl lathering and face lathering. While both methods are capable of producing a nice thick lather, for beginners I recommend bowl lathering because it’s pretty simple, straightforward, and it’s easier to control the cream-to-water ratio. Once you get a better idea of how a proper lather should look and feel, you can move on to face lathering if you wish.
Lathering with soap
There are three common methods of building a lather with soap, and those are called puck lather, bowl lather, and face lather. Like lathering with shave cream, I recommend puck or bowl lathering for beginners since it’s easier to control the soap-to-water ratio.
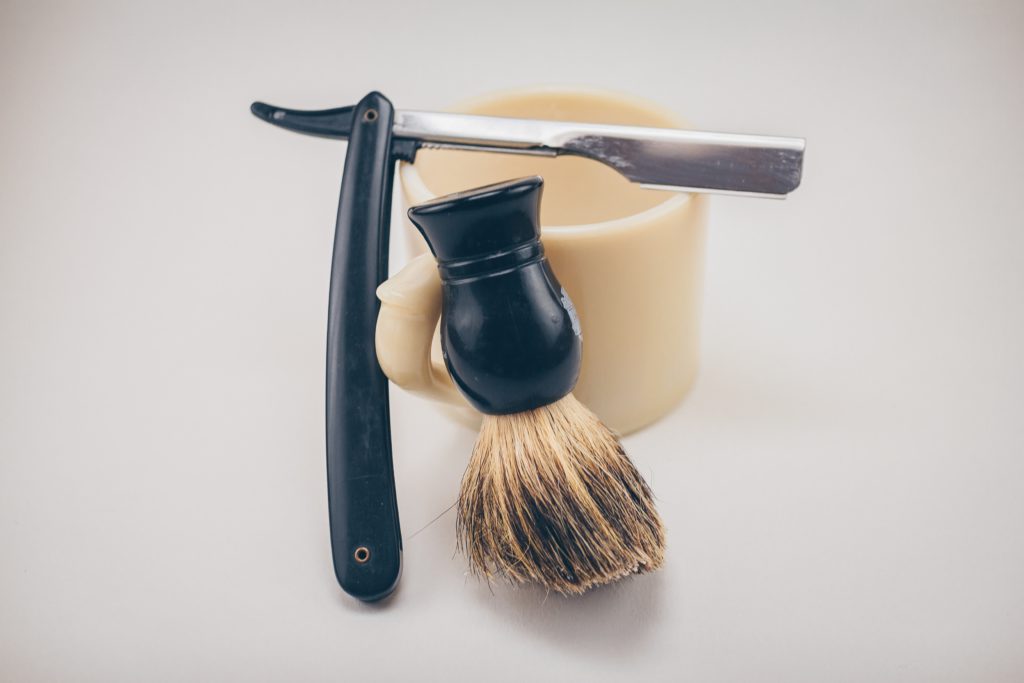
As you would expect, bowl lathering requires some type of bowl to work in. This can be anything from a coffee mug to an actual soup bowl. There are also plenty of shaving bowls available for purchase in different styles, materials, and sizes. Vikings Blade offers a pretty cool stainless steel shaving bowl if that coffee mug isn’t doing it for you.
Blade Angle
Time to put metal to skin. If you’re a beginner to the world of wet shaving you may be unsure exactly how to orient the blade against your face. Unlike disposable razors which hold the blades at a single fixed angle, single edge and double edge razors require a bit of trial and error in order to achieve an optimal cutting angle.
It’s a generally accepted rule that a 30° blade angle is a good place to start. That means that the blade, not the handle, should meet the skin at 30°. Take a look at the below image to get an idea on how this should look.
Pressure
Pressure is going to be most guys biggest hurdle when they transition from disposable or cartridge razors. The problem is that cartridge razors actually work best when pressure is applied to the skin, but the exact opposite is true when it comes to Single and double edge razors and straight razors.
The idea is to actually let the weight of the razor do the work for you; applying little to no pressure at all. Applying too much pressure will most certainly result in nicks, cuts, and razor burn.
Two of the most common ways to hold a safety razor are called the balance point method and holding it by the tip of the handle.
Balance point method – This grip involves finding the, you guessed it, balance point of the razor. That’s the point where the head and handle are in perfect equilibrium. Once you find the balance point, grip it between two or three fingers, whichever is more comfortable for you. This method gives maximum control while letting the weight of the razor do the work for you.
Holding it by the tip of the handle – This method is pretty self explanatory, and perhaps my favorite safety razor grip for beginners. It simply involves holding the razor at the end of the handle with two or three fingers. This allows the user to easily control the glide and direction of the razor while eliminating any pressure that could result in nicks, cuts, or razor burn.

Passes
In wet shaving, a pass is one single full removal of lather from your face. As a beginner, you should only be doing strokes of the razor where there’s lather on your face. Don’t stroke multiple times over skin that already has the lather removed, this can result in cuts and irritation.
You may have heard the term multi-pass shaving. This is when you complete one full pass, re-lather, do another pass, and repeat again. For beginners I highly recommend sticking to one pass for the first few shaves. As you get a better feel for lathering, blade angle, and pressure, you can gradually increase the number of passes.
Aftershave
Now that you got your first wet shave under your belt it’s time to apply a little aftershave to seal the deal. While most people tend to think that aftershave’s primary function is to add a nice scent to the face, that’s only partially true.
The main benefits of aftershave are to eliminate dirt, germs, and bacteria from the skin, and to seal pores to prevent any additional bacteria from coming in while you go about your day. A masculine fragrance is just an added bonus. Some great aftershave options include: Brickell, Lather & Wood, and Proraso.
Simply add a small amount of aftershave to the palm of your hand (roughly a 1/4 teaspoon), work your hands together, and apply to your face. If your wet shave was a totally hack job, you’re aftershave will certainly let you know. But don’t worry, like anything, wet shaving takes time and patience to master. Don’t let a little aftershave sting discourage you.
